Instructions for using the touch display
To make your interaction with the boiler more comfortable, this guide will explain how to use the touchscreen display after installing and connecting the boiler to the power supply.
-
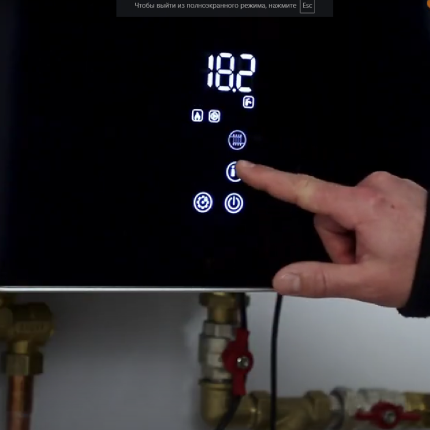
Display Overview
- Small icons: help navigate the boiler’s settings and operating modes.
- Large touch buttons: allow you to control the boiler or change the settings of each mode.
- Digital display: shows the set temperature, service menu parameters, or error codes.
-
Boiler Operation Indicators
- “Drop” icon: the boiler operates based on the temperature sensor of the heating system.
- “Cloud” icon: the boiler operates based on the room air temperature sensor (room thermostat).
- “House” icon: the boiler operates according to the external thermostat settings.
- “Faucet” icon: the water heater mode is on. “Flame” icon: the heating elements are on, and the boiler is heating the heat carrier.
- “Play” icon: the circulation pump is on, maintaining water circulation in the system. “Exclamation mark” icon: a system failure has occurred.
- “Shield” icon: the Legionella antibacterial mode is on.
- “Radiator” button – Turns the heating mode on/off.
- “Faucet” button – Turns the water heating mode on/off.
- “Gear” button – Enters the service menu and adjusts settings.
- “On/Off” button – Turns the boiler on/off.
-
Heating Mode Settings
- Turning on the heating mode:
- Press the “Radiator” icon once; it should light up brightly.
- The heating system is now on.
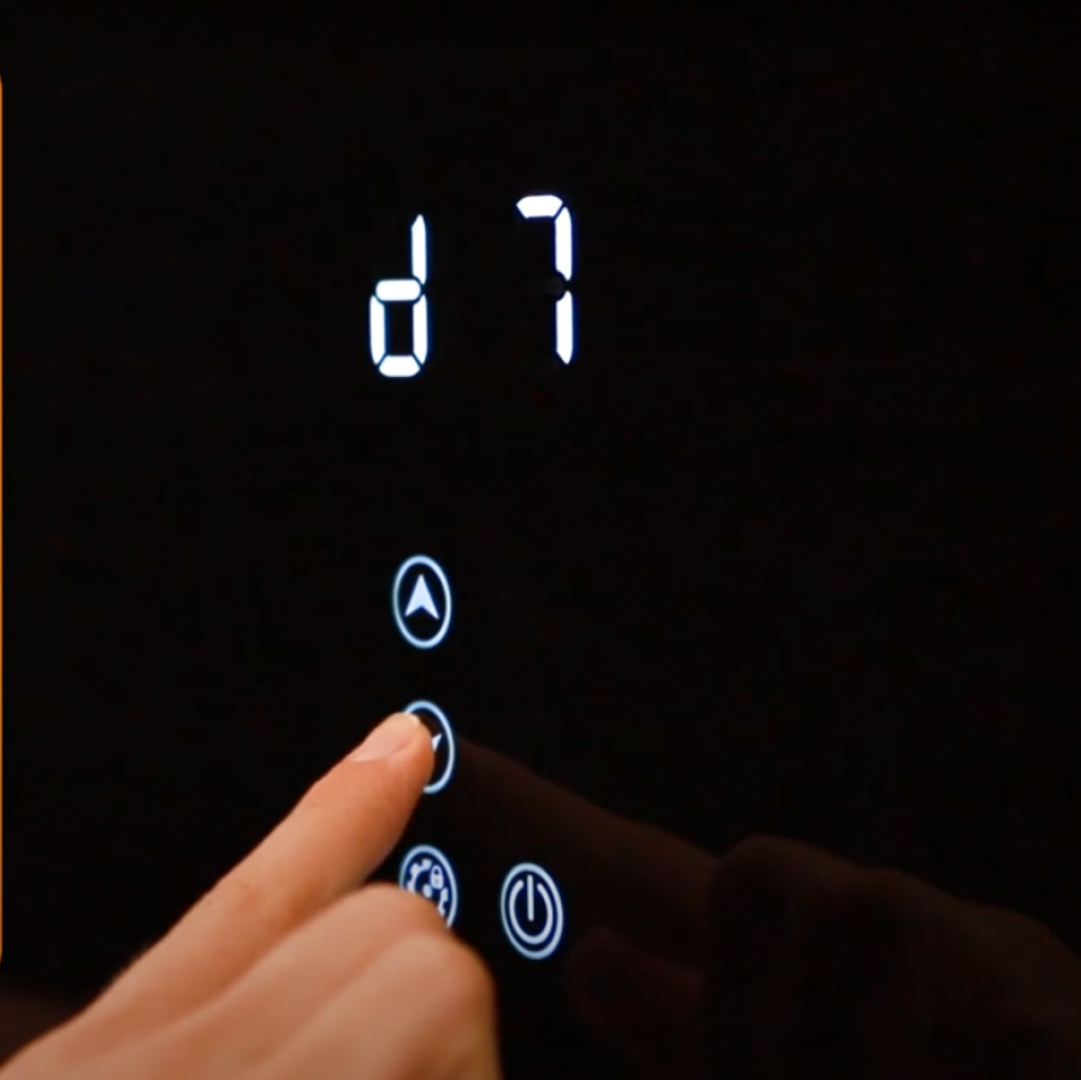
2. Changing heating settings:
- Press and hold the “Radiator” button for 3 seconds until the touch arrows appear.
- Use the arrows to select the mode to adjust:
- “Drop” icon: adjusts the heating system temperature.
- “Cloud” icon: adjusts the room air temperature.
- d5: adjusts the temperature difference (delta t).
-
Temperature Setting
Example of setting the room air temperature:
- Press and hold the “Radiator” button for 3 seconds until the touch arrows appear.
- Select the mode with the “Cloud” icon illuminated.
- Press the “Gear” button, and the “Cloud” icon will start flashing.
- Use the arrows to set the desired temperature.
- Confirm by pressing the “Gear” button again, or wait 10 seconds for automatic saving.
-
d5 Mode (Delta t) Setting
- 5 Mode: regulates the range between the boiler’s heating on and off temperatures to maintain a comfortable temperature (default is 5°C).
- Example: if the set temperature is 50°C, the boiler will turn off heating when this temperature is reached and turn it back on when it drops to 45°C.
- The range can be set from 1°C to 10°C. – Save the setting by pressing the “Gear” button.
-
Нot Water Boiler Control (only if an indirect heating boiler is connected)
1. Turning on water heating:
- Briefly press the “Faucet” icon; it will light up brightly.
- The hot water system is now on.
2. Water heating settings:
- Press and hold the “Faucet” icon for 3 seconds.
- Use the arrows to select the mode:
- “Faucet” icon: adjusts the boiler water temperature.
- “Shield” icon: activates the Legionella antibacterial function.
3. Setting the water temperature:
- Press the “Gear” button.
- Adjust the temperature using the arrows.
- Save the settings by pressing the “Gear” button again.
4. Antibacterial mode (Legionella):
- Press and hold the “Faucet” icon for 3 seconds.
- Select the “Shield” icon.
- Apply the settings by pressing the “Gear” button.
-
Wi-Fi Module Reset
- Turn off all boiler operating modes.
- Reset Wi-Fi:
- Press and hold the “Gear” button for 6 seconds.
- In the menu, use the arrows to select the P11 mode.
- Set the settings using the power button.
- To reset Wi-Fi, switch the mode to 1 and confirm the reset by pressing the power button.
Instructions that will be useful to you
Previous
The next